A step by step tutorial
Applying butyl sound deadening sheets to a van conversion is an effective way to reduce noise and improve the overall comfort of your vehicle. Here’s a step-by-step tutorial to help you through the process.
Our Dead Mat and Dead Mat Pro rolls and sheets are the latest in automotive sound deadening material and contain up to 40% more active material, providing twice the results than that of other leading brands.
Tools & materials needed
- Butyl Sound Deadening Sheets
- Utility Knife or Scissors
- Roller or Firm Object (to ensure adhesion)
- Cleaning Supplies (isopropyl alcohol and cloths)
- Gloves (optional, to keep hands clean)
- Pencil or Marker
Step 1: Prepare the van
Clear the Area: Remove any furniture, insulation, or components that may obstruct access to the surfaces you want to sound deaden.
Clean Surfaces: Use isopropyl alcohol and a clean cloth to wipe down the areas where you’ll be applying the butyl sheets. This removes dirt, grease, and old adhesive residues, ensuring a strong bond.
Step 2: Cut sheets down to size
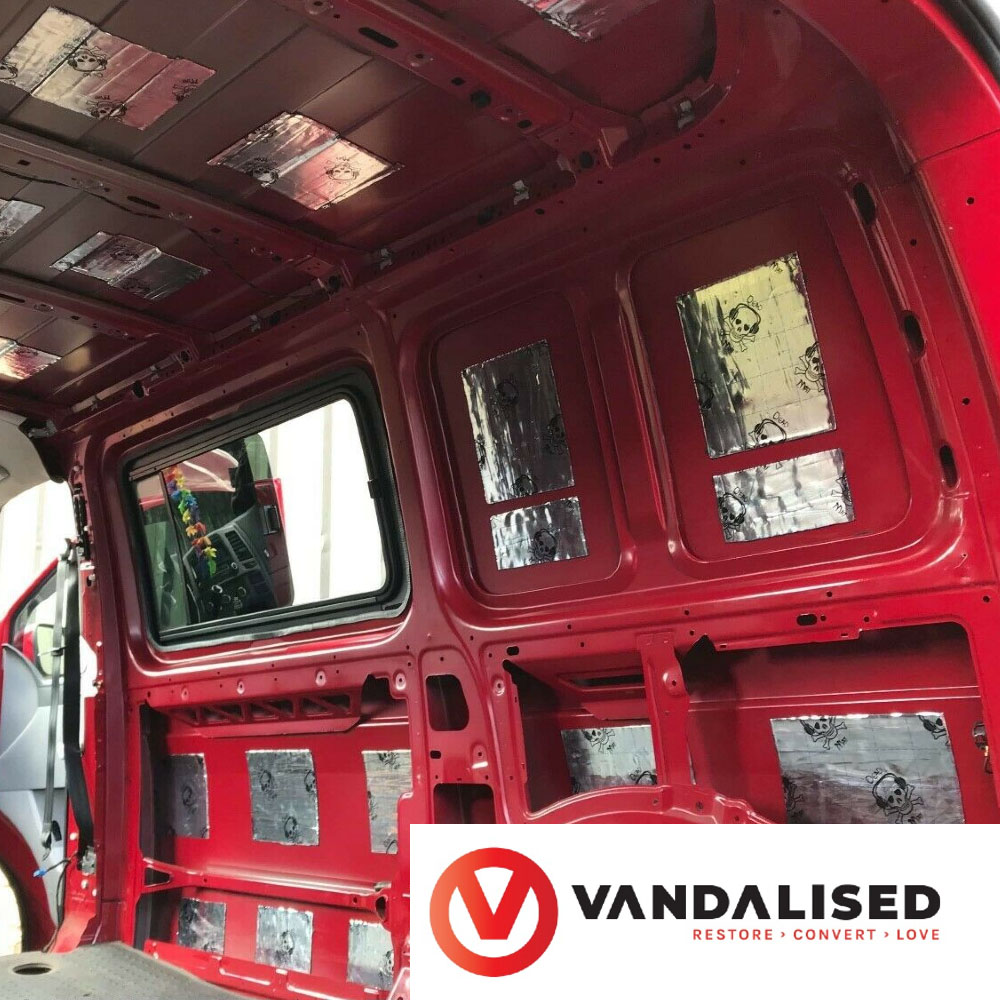
Find the right size: Looking at the sections where you want to apply the sound deadening material work out how large a sheet needs to be you want to cover roughly 40% of the area either in one large sheet in the centre or preferably is smaller strips or squares to provide a more even coverage.
Common areas include:
- Floor
- Side walls
- Roof
- Doors
Cut Sheets: Using a utility knife or scissors, cut the butyl sound deadening sheets to fit the measured areas.
It’s better to cut slightly larger pieces than to have pieces that are too small.


Step 3: Application
Peel Backing: Carefully peel off the backing of the butyl sheet. Be cautious not to touch the adhesive side to avoid contamination.
Apply heat: Using a heat gun or a hair dryer apply heat to the back of the butyl sheet until it slightly bubbles, and the sheet goes limp and soft. This will help create an even strong bonding to the metalwork.
Position the Sheet: Place the butyl sheet in the desired location. Start at one end and slowly lay it down to avoid air bubbles.
Press and Roll: Use a roller applicator or a firm object to press down on the sheet. This step is crucial as it ensures full contact between the adhesive and the surface, enhancing the effectiveness of the sound deadening.
Step 4: Repeat
Continue Applying: Repeat the measuring, cutting, and applying process for all areas you want to cover. Make sure to space out the sheets evenly to create the best results.
Step 5: Final touches
Clean up: once the van is fully sound deadened take the time to clean up all the mess and wipe down the sheets to prepare the surface ready for future work to be done.
Step 6: Test the results
Test for Noise Reduction: After everything is back in place, take your van for a drive to assess the noise reduction. You should notice a significant decrease in road noise and vibrations.
Additional Tips
- Spacing:
For maximum sound deadening the Dead Mat sheets want to be evenly spread out. You don’t need to cover every square inch of the metal. Doing this would only add extra weight and cost to your project without any significant increase in noise reduction. - Temperature:
Apply the sheets in a warm environment if possible as this can enhance adhesion.
By following these steps, you can effectively apply butyl sound deadening sheets to your van conversion, leading to a quieter and more enjoyable driving experience.